C4BG0RF1 - 607
REMOVAL - REFITTING SPARE WHEEL STORAGE
1 - TOOLING
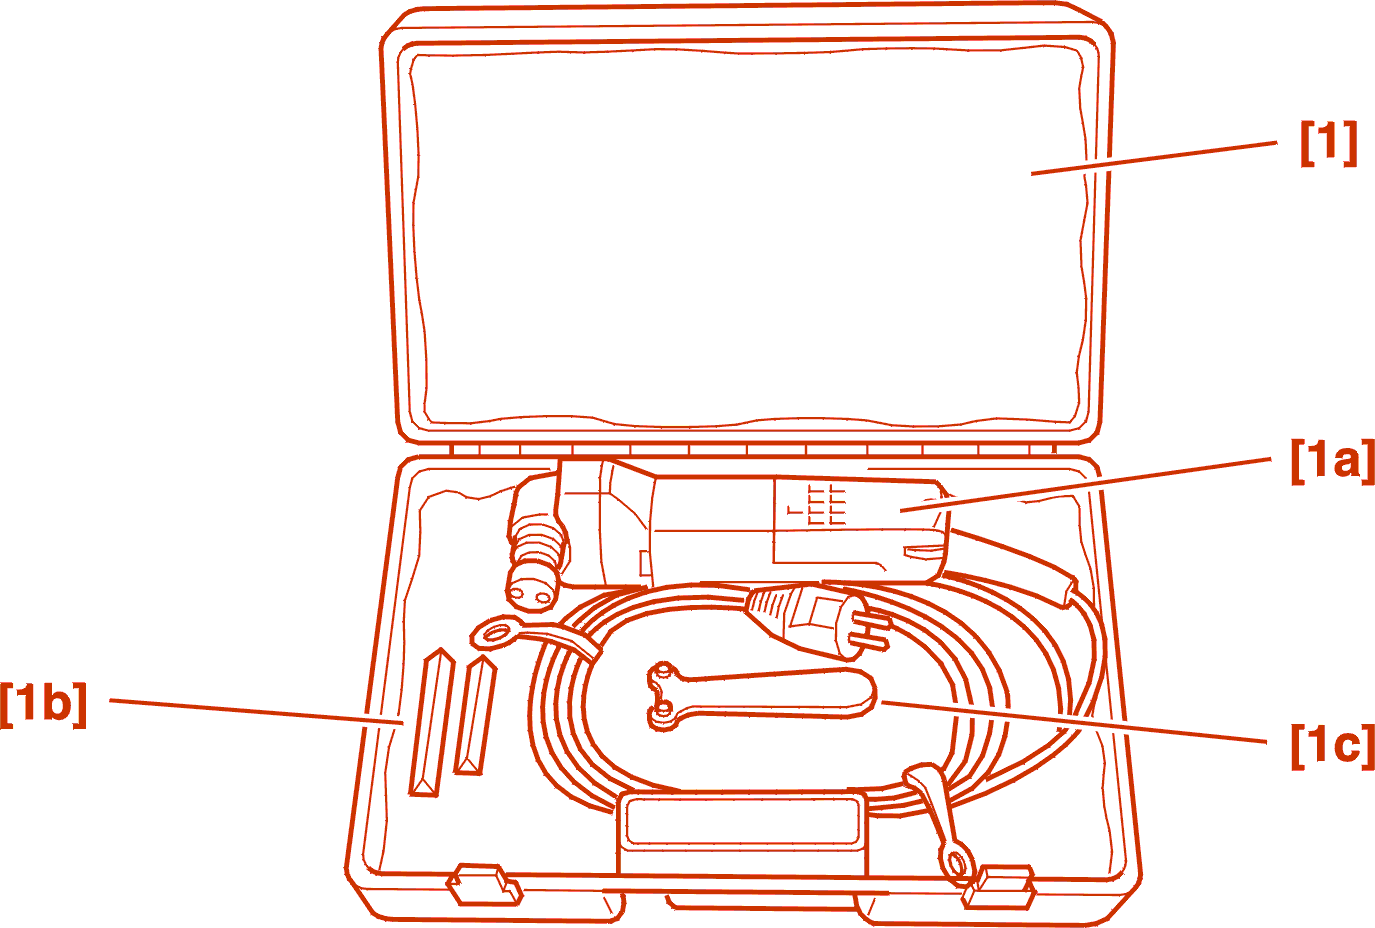
[1] Electric knife set FEIN .
Contents of kit :
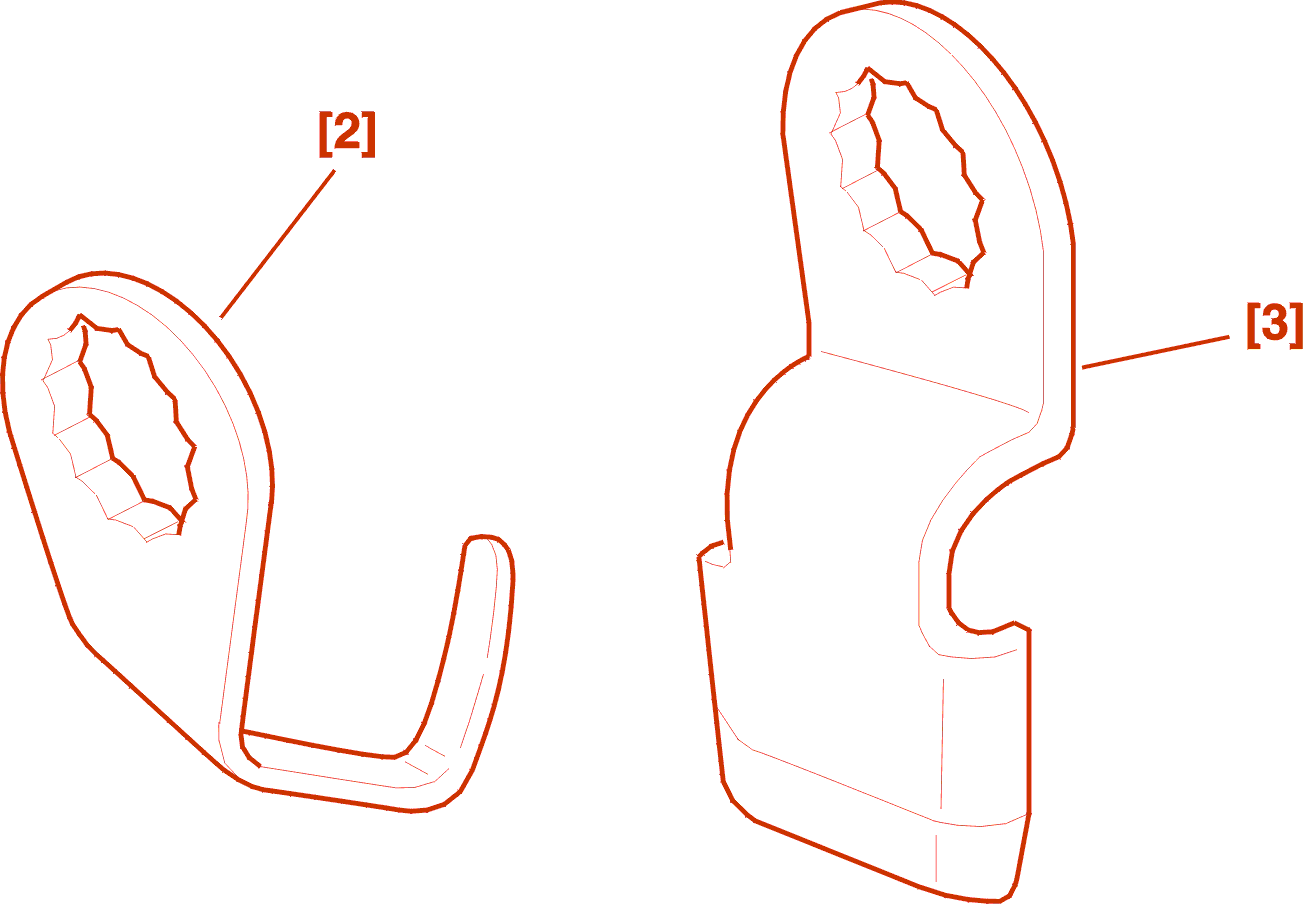
[2] U-shaped blade No. 154 .
[3] Shovel blade N° 146 .
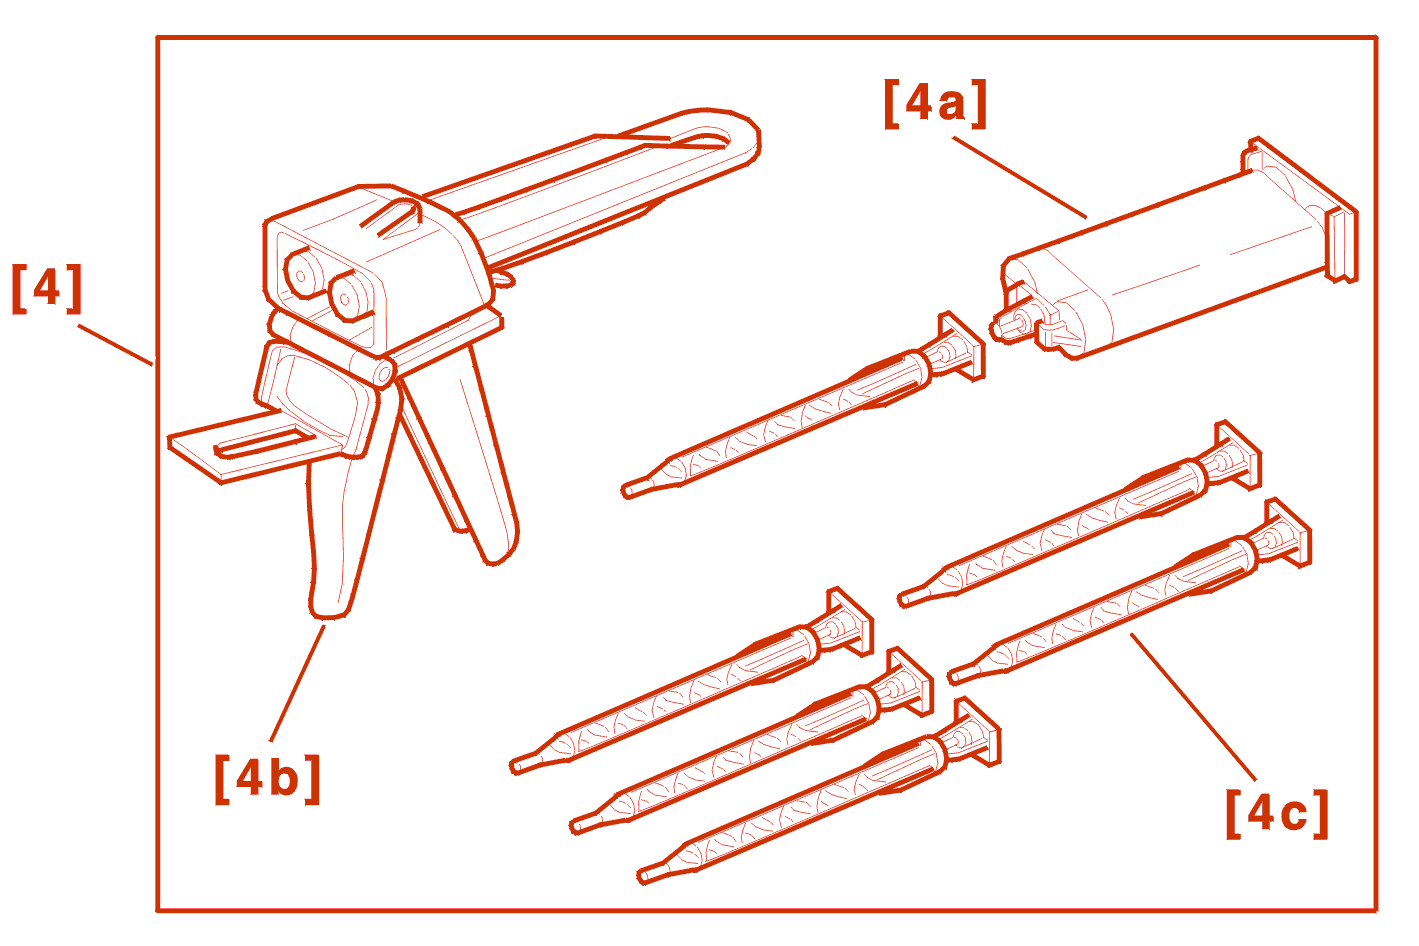
[4] Bonding kit :
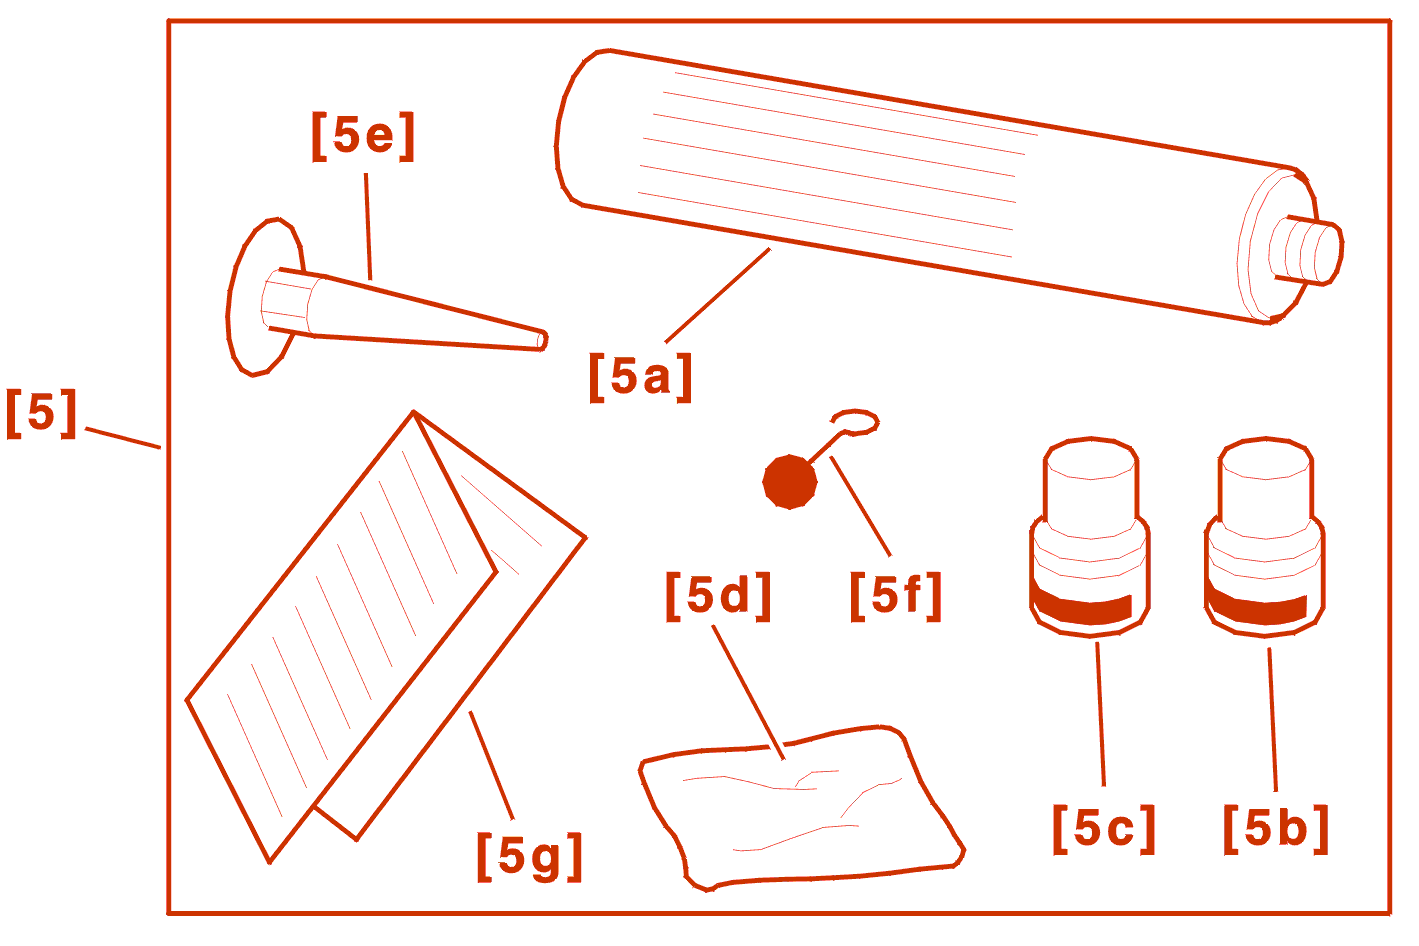
[5] Bonding kit :

[6] Compressed air gun .
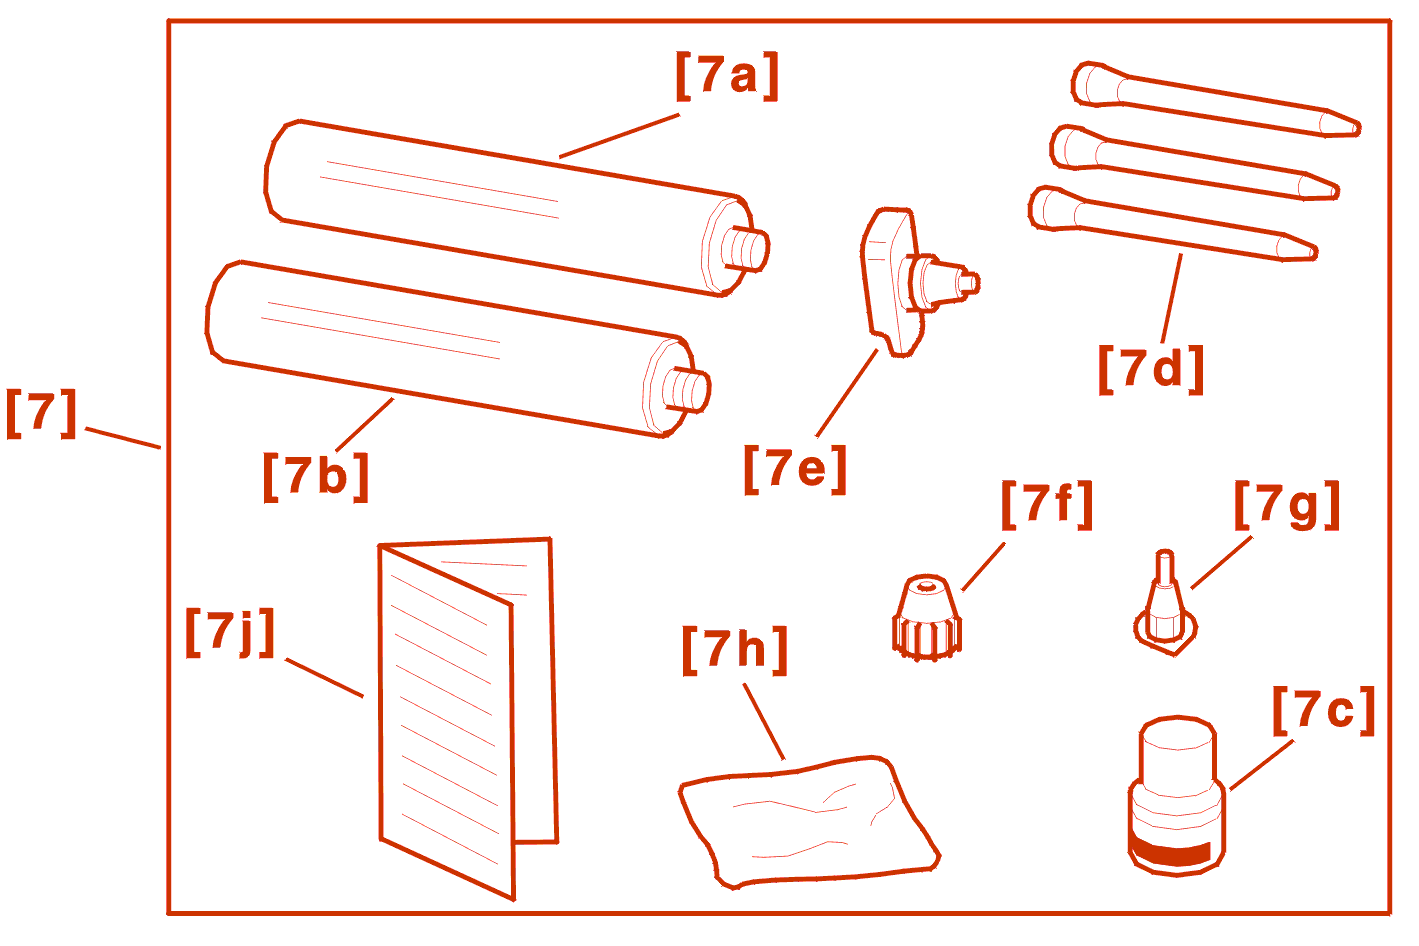
[7] Bonding kit :
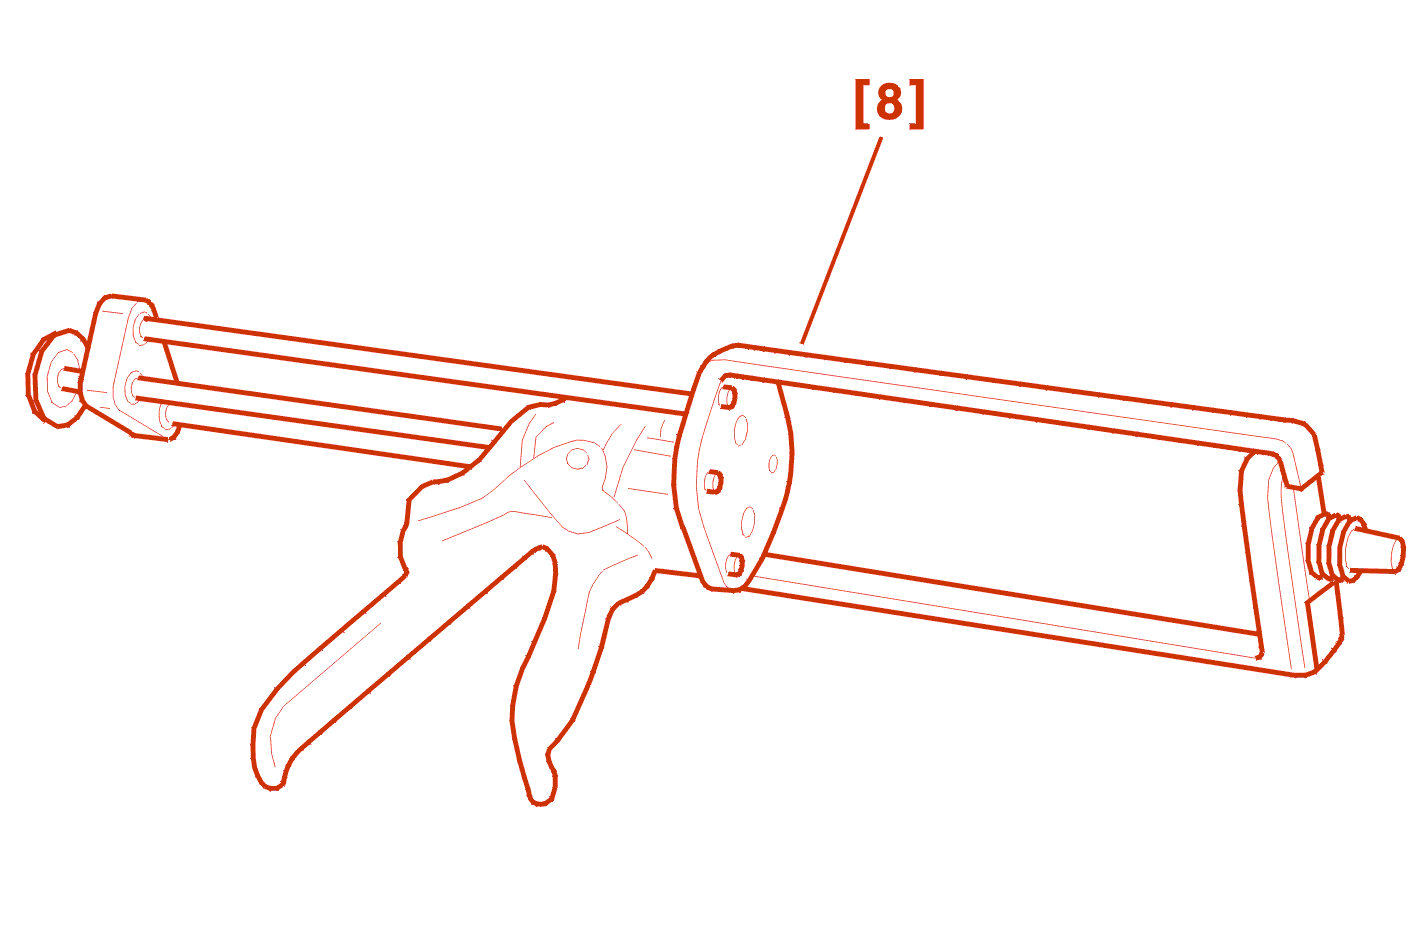
[8] manual gun .
2 - REMOVAL
2 - 1 - UNDERNEATH THE VEHICLE
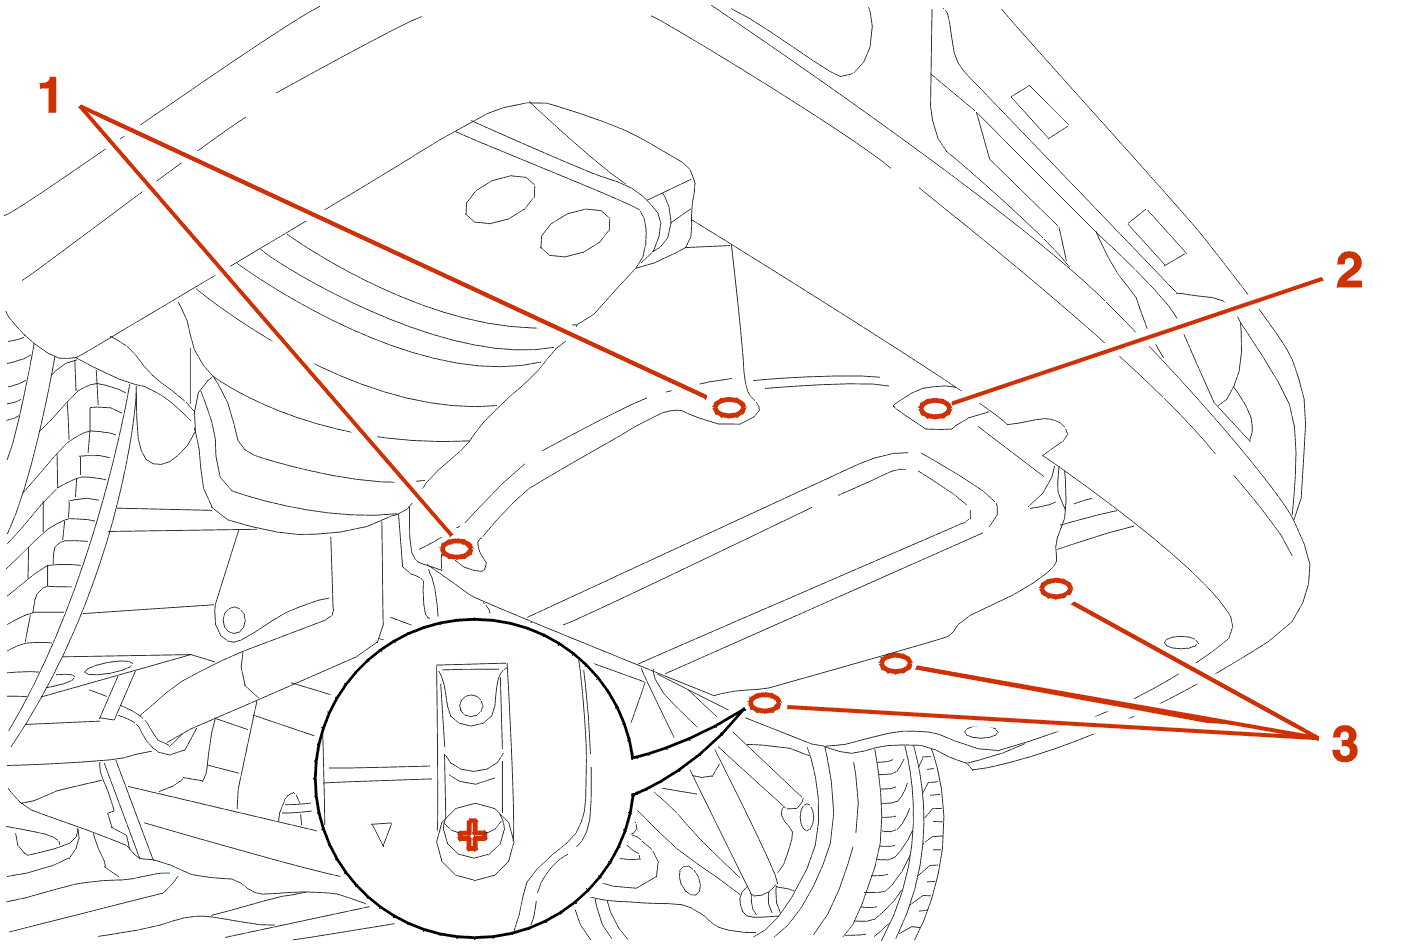
Remove :
2 - 2 - IN THE VEHICLE
Remove :
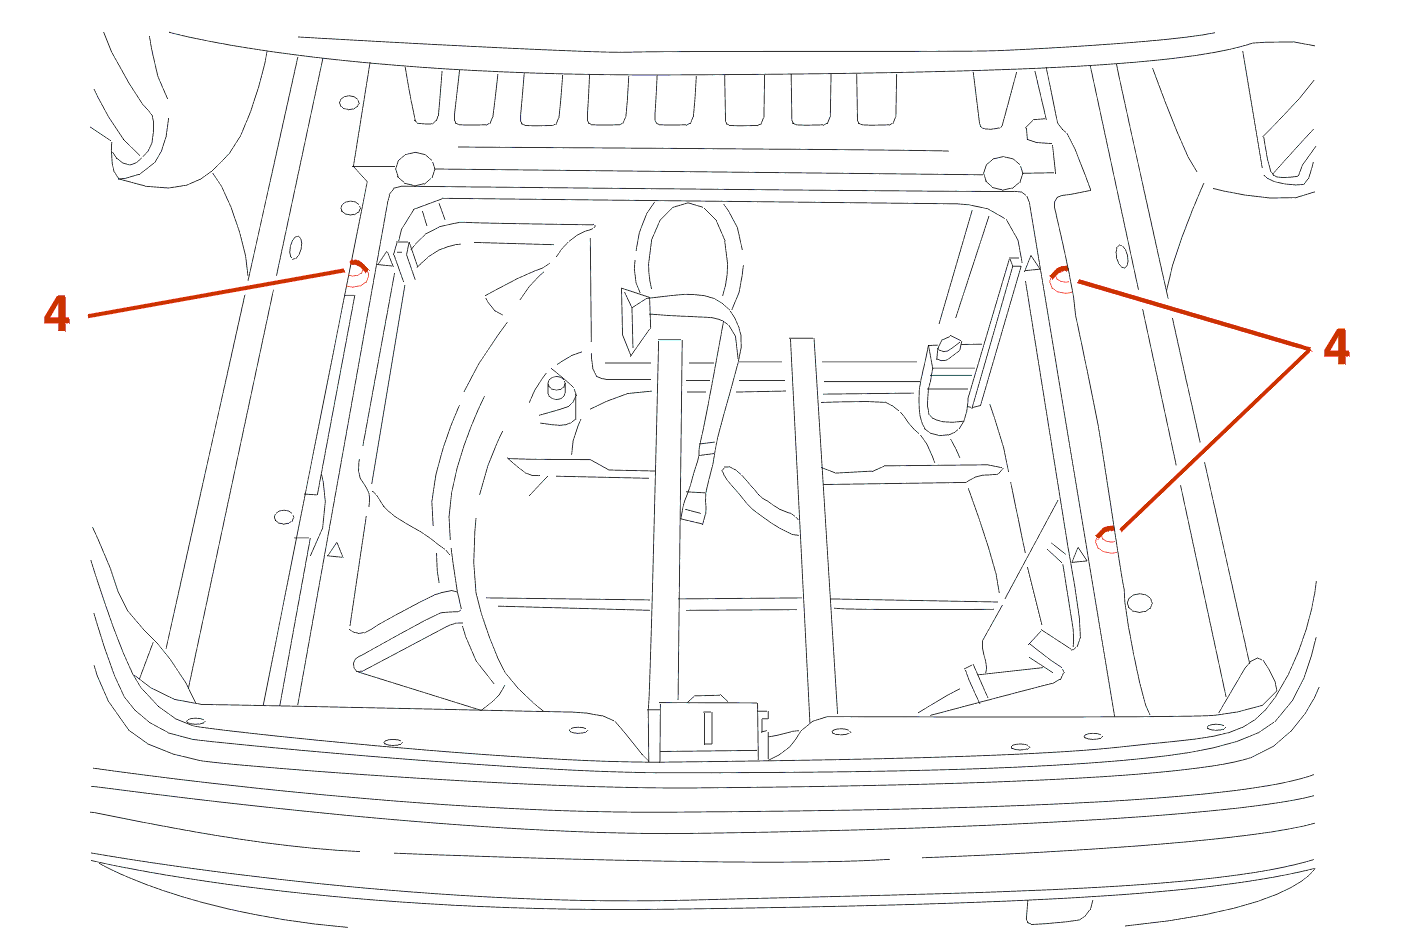
Remove the closers (4) .

Using the knife FEIN [1] fitted with the blade N° 154 [2], cut the bead of adhesive around the carrier .
Remove the tray .
3 - REFITTING
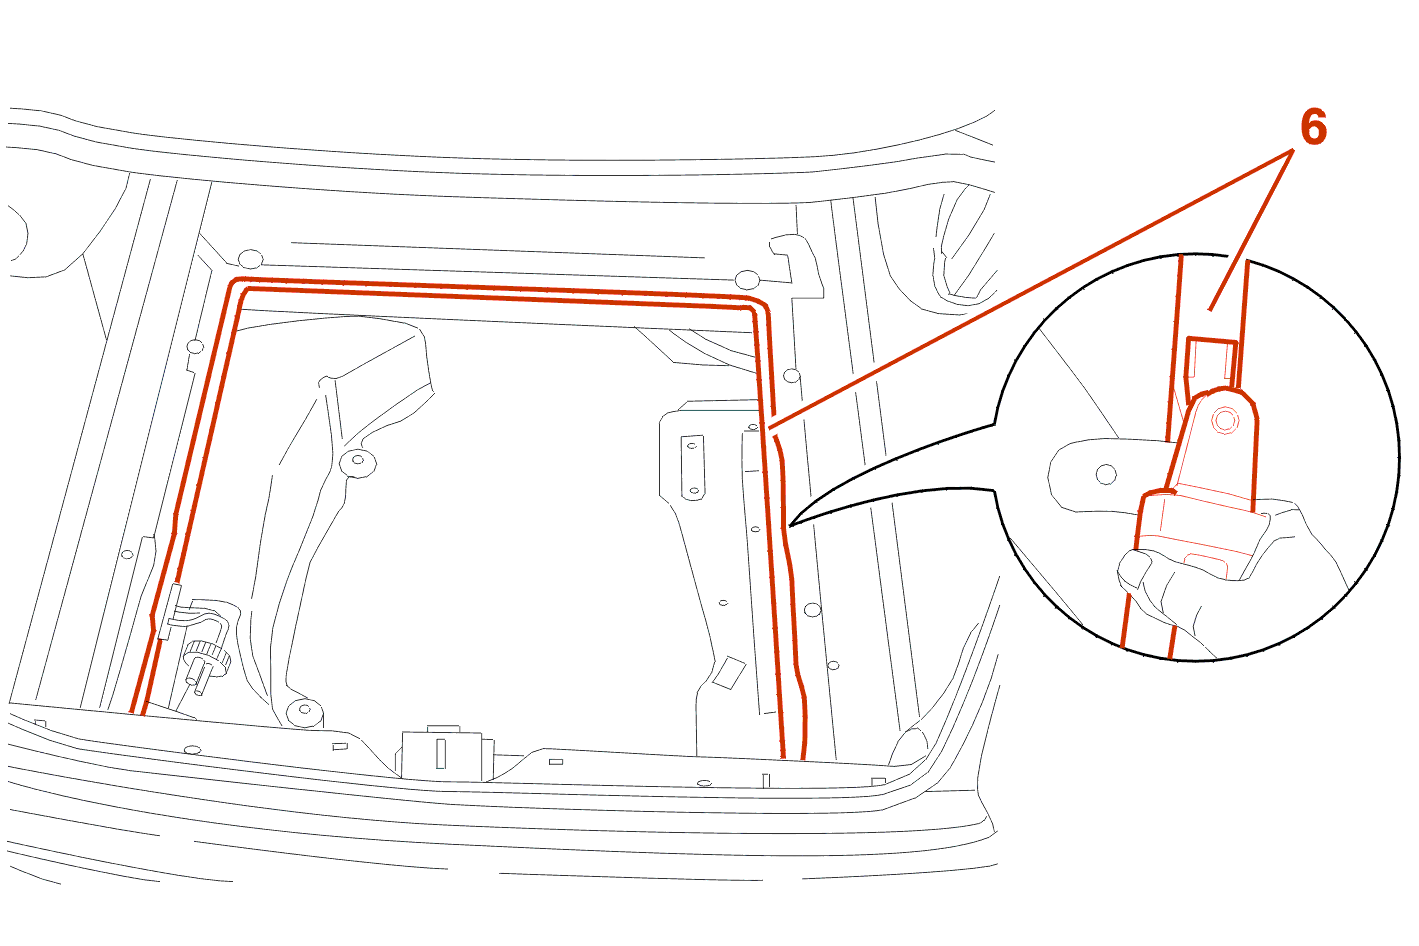
Using the knife FEIN [1] fitted with the blade N° 146 [3], shave off the bead of adhesive on the floor panel (6) .
After painting, sand the edge of the bonding area lightly using a fine abrasive to permit attachment of the bead of adhesive .
Wipe the sanded area .
3 - 1 - PREPARATION OF THE CONTAINER
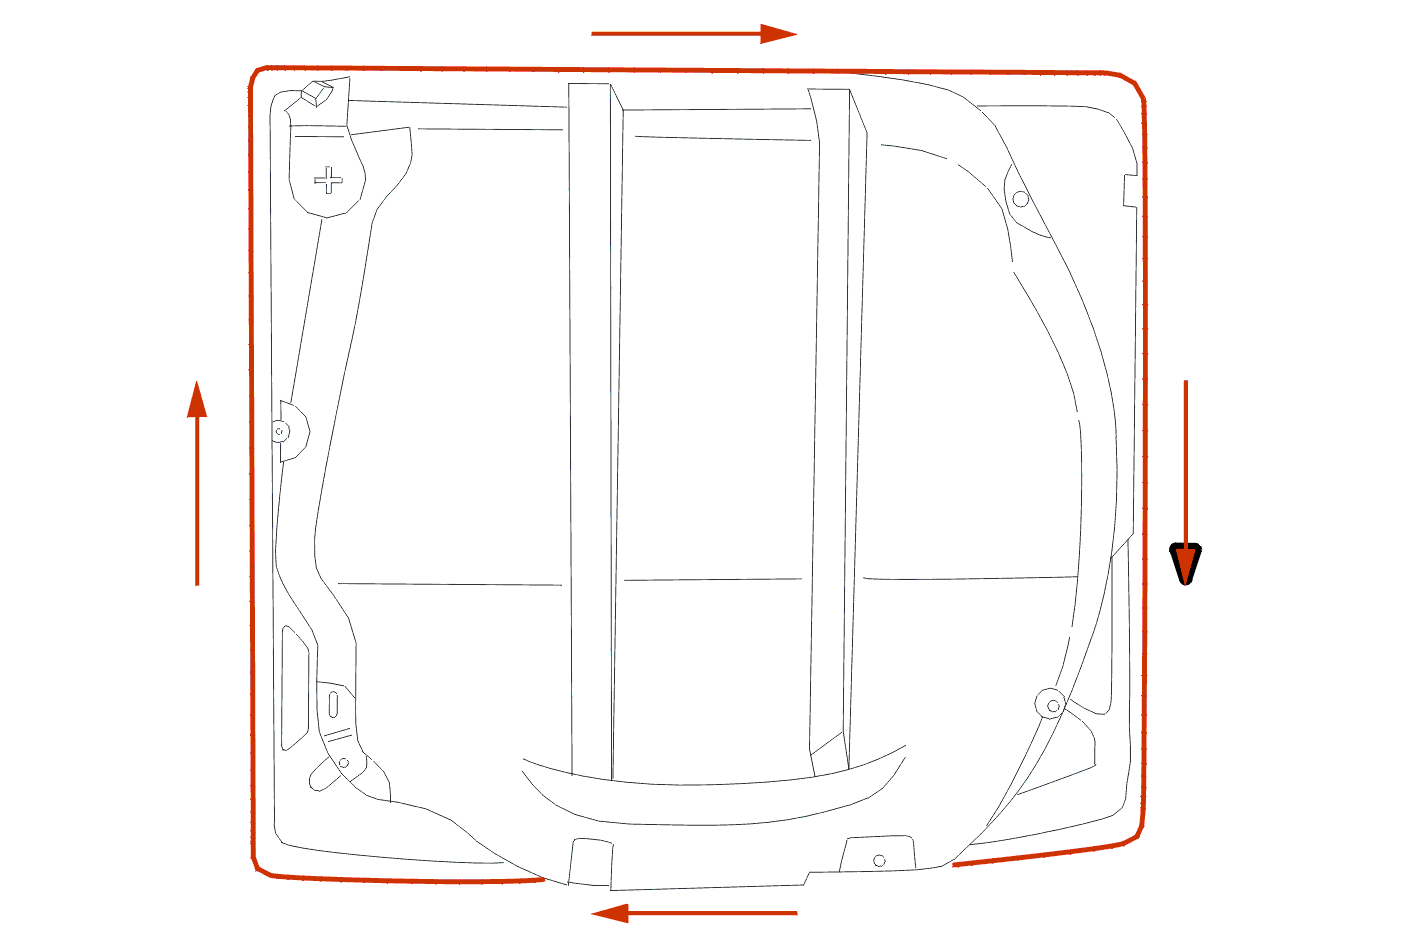
Using a fine abrasive, sand by hand and degrease the edge of the bonding area .
Leave to dry for 5 minutes at odeg. c .
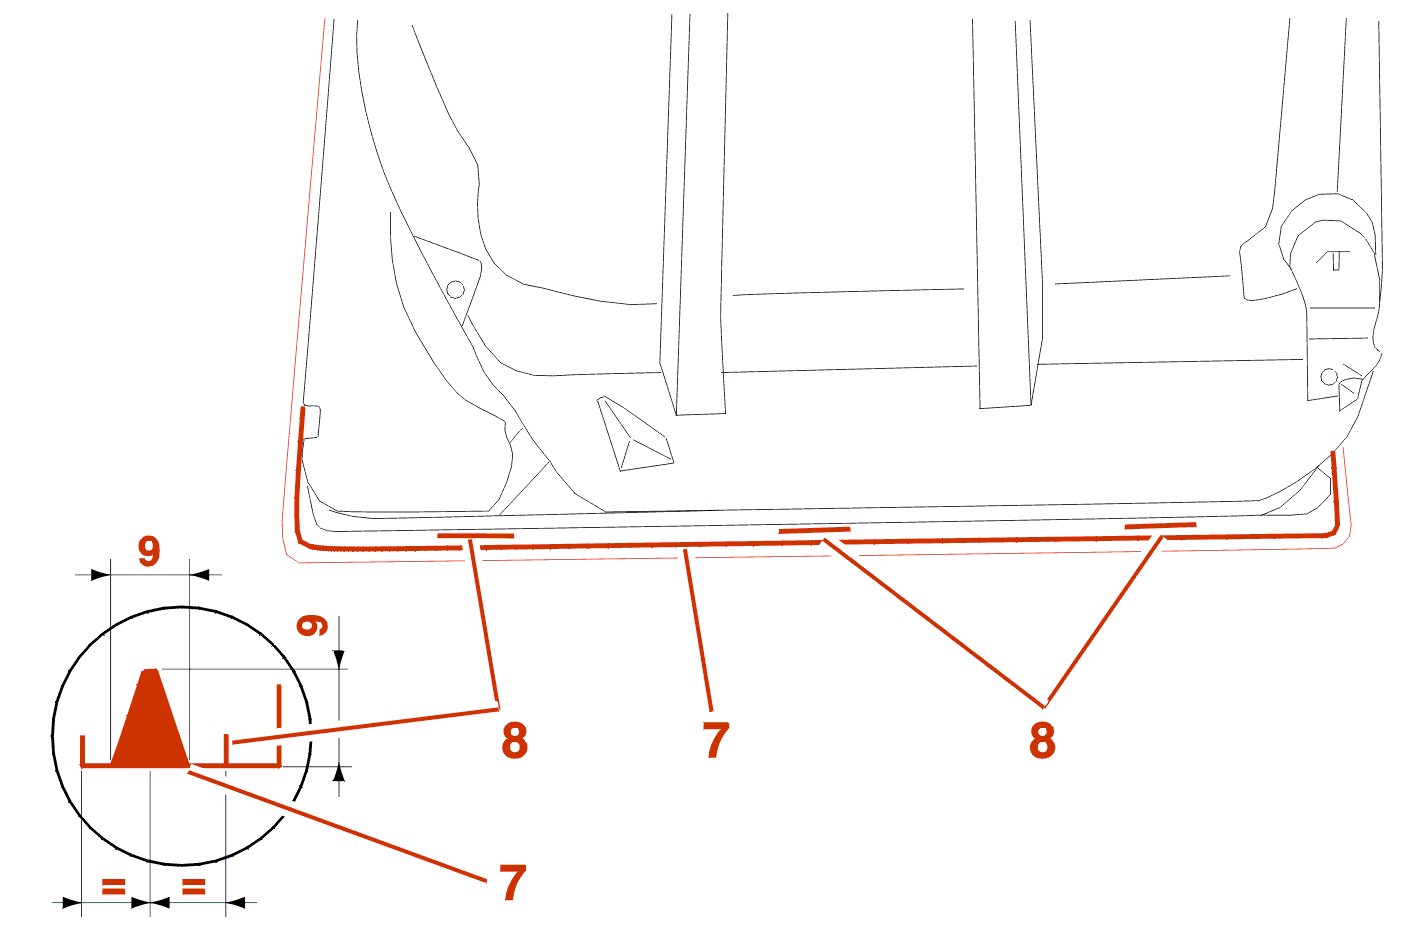
Fit the extrusion gun with the gluing assembly .
Pick up the nozzle and cut off the end .
Apply a bead of adhesive (7) centrally between the outer edge and the marks (8) in the bonding area on the carrier surround .
IMPERATIVE : the time between the application of the bead of adhesive to the floor panel and the positioning of the carrier must not exceed 8 minutes at 20 odeg. c .

Fit the carrier on the floor engaging it in the direction of the marks (9) .
Place the carrier in the luggage compartment lifting the front section, engage the rear setion in the cut-out and fit the front section .
Press around the edges of the carrier with your hands to spread the bead .
Refit the spare wheel in the carrier for ballast .
Leave to polymerise for 30 minutes at 20 odeg. c before handling (Refer to the technical sheets of the suppliers ) .
Continue the fitting operations in the reverse order to removal .